🔧 Installation Guide | NestSecure
Welcome to NestSecure — where your safety is our priority. Follow the steps below to complete your installation and start protecting what matters most.

📦 What's in the Box?
Your NestSecure Starter Kit includes:
🛡️ NestSecure Hub
🚪 Door & Window Sensors (x3)
🎥 Indoor Security Camera
🔊 Motion Detector
🔌 Power Adapters & Mounting Hardware
📖 Quick Start Guide

🔐 System Activation – 3 Easy Steps
Power On the System
Connect all devices to power and ensure indicator lights are on.Connect to Internet
Use Wi-Fi or Ethernet to connect the main control unit to the internet.Activate & Arm
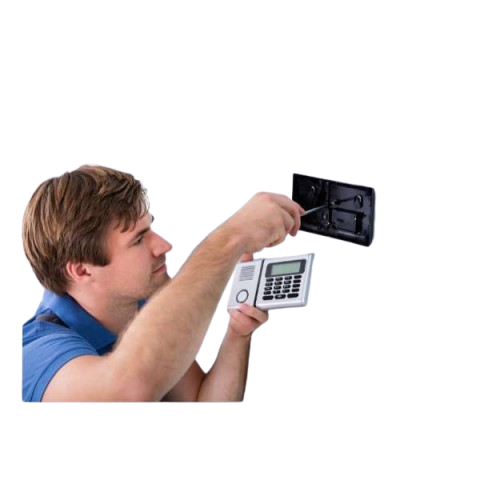
Use the control panel to set your access code and press the “Arm” button to activate the system.
🛠️ DIY Installation Steps

Step 1: Power Up the Hub
Plug in your NestSecure Hub using the included adapter.
Wait for the LED to turn blue (ready for pairing).
Step 2: Connect to Wi-Fi
Open the app and follow the prompts to connect the Hub to your Wi-Fi network.
Step 3: Install Sensors
Peel and stick the door/window sensors in place.
Ensure magnets align properly when the door/window is closed.
Name each sensor in the app (e.g., “Front Door”).
Step 4: Set Up the Camera
Mount the indoor camera in a central location.
Connect it via the app and test live view.
Enable motion alerts as desired.


🛡️ Your Security, Simplified
Thank you for choosing NestSecure. Our mission is to provide peace of mind through smart, seamless home protection. You’re now just a few steps away from a safer home.
